Monday, April 21, 2014

The Rowselettes have Arrived!

As you may have noticed, I've been MIA for about a month and a half now.  But I have a really good reason for my lack of posts.  The Rowselettes have arrived!

They decided they couldn't wait any longer than 34 weeks and 4 days to come greet the world.  On March 23rd at 10:26 pm & 10:27 pm first Alexander James and then Archer John were born by c-section (due to the fact that Archer decided to stay in his sideways position).  Xander was 5 lbs. 6 oz. and 19.5 in. long.  Archer was 4 lbs. 13 oz. and 18 in. long.  When I first saw them, I couldn't believe that both of those babies fit inside of me.  Both of them required extra monitoring due to the fact that they were premature, but completely healthy.  They had to stay in the neonatal intensive care unit for two weeks.  This was mainly to ensure that they could eat well on their own and continue to grow and gain weight.

We've been home now for two weeks, and it is exhausting but awesome all at the same time.  And even though I know one baby would be half as much work, I wouldn't trade having my two bundles of joy for anything in the world.  They were both such individuals right from the very start.  It's amazing how two little beings can be so different from each other, even though they were conceived at the same time and shared the same space for so long.


It's time!  Wearing my super cute birthing/hospital gown from ModMum.


Alexander (Xander) James in the NICU with his dad.


Archer John also in the NICU with his dad.  He needed a little extra oxygen for about 6 hours after he was born and then he was good to go.


First time holding my babies.  So precious!


Archer and Xander snuggling with mom during their feeding through their nasal gavage tubing.


No more monitors!  And we get to share a bed now. :)


I love my brother. 


The doctor says we can go home! 


Celebrating National Sibling Day with snuggles.


And here is one of our photos from our newborn photo shoot.  This was my husbands idea.  He's very creative. :)  The foxes and fox scarves were knitted by my wonderful sister in law Amy from Amy's Nutritarian Kitchen.

Wednesday, March 19, 2014

Southwest Chicken Black Bean Dish

For some reason we always have extra rice in the fridge at my house.  Apparently my hubby and I are not good at estimating how much we will need for a specific meal.  Because of this, I've come up with quite a few rice dishes to use up left overs.  So here is another tasty, easy, budget friendly rice dish for you all to try.

Southwest Chicken Black Bean Dish
  • 1 red or orange bell pepper, chopped
  • 1 Anaheim chile, chopped (This is optional.  I had them on hand so decided to add it to the recipe.)
  • 1 large onion. chopped
  • 1 can corn, drained
  • 1 can black beans, drained and rinsed
  • 1 can chicken breast (I use the Kirkland brand from Costco.)
  • 3 cups rice, cooked
  • 3 Tbsp. Mesquite seasoning
  1. Spray the pan with olive oil spray, add peppers and onions, and saute over medium heat.
  2. When the veggies are starting to soften, add corn and black beans.
  3. Break up the chicken breast chunks in the can, and add to the pan.
  4. Add rice and stir to combine all ingredients.
  5. Add the mesquite seasoning and a half can of water.  Stir well and allow to cook for ~10 min. or until everything is heated through.


Wash the beans well using a colander and cold water.  This would also be a great recipe to use the homemade crock pot beans. :)


I use a fork to help break up the chicken breast chunks.


 As always, season to taste.  If you prefer more or less seasoning, go for it.


This dish is really tasty on its own, with some taco chips, or as a burrito with cheese.  You could also easily leave out the chicken for a vegetarian meal.  I want to say a special thanks to my wonderful husband for helping me with my cooking, since I'm on restricted activity at this point in my pregnancy.  He's definitely a keeper. :)

Wednesday, March 12, 2014

Crock Pot Beans

My husband spent four months in Costa Rica after college being an international playboy, as he likes to call it.  Due to said time in Costa Rica, he became very good at cooking dried beans.  Before I met him, my beans always came from a can.  I still use the occasional can of beans for convenience sake, but try to make my own whenever possible.  They freeze extremely well, are super budget friendly, and taste amazing!

Our house has a gas range, which I love for cooking, but am not such a big fan of leaving on all day long.  Especially since I'll be having little ones around the house soon, an open flame burning all day is much less appealing to me.  Therefore, we decided to experiment with making our beans in the crock pot.  After doing some reading online, I determined we did not need to soak the beans over night before cooking them this way.  So here is our recipe for delicious homemade beans.

Crockpot Beans
  • 1 large onion, chopped
  • 1 red bell pepper, sliced
  • 2 Anaheim chiles, sliced (I had these on hand, so decided to use them.  They are completely optional.)
  • 6 cloves of garlic, sliced
  • 3 Tbsp. vegetable oil (I used avocado oil.)
  • 1 Tbsp. salt (You may increase or decrease the salt amount as you like.)
  • 2 lbs. dried small red beans

  1. Chop and slice all of your veggies.  Wash the beans, using a colander and cold water.
  2. Put all ingredients in the crock pot and add enough water to cover the beans plus two inches.  (More water may need to be added as the beans cook.  Just make sure the beans are covered at all times.)
  3. Give the contents a good stir.
  4. Cook on High for ~10 hrs.  Stir occasionally throughout cooking time.
  5. When beans are al dente, turn crock pot off and let cool.  Package in freezer bags or plastic containers.


Yummmm!  This is probably the best batch of beans we've ever made.  In fact, they were so good, we ate them right after they came out of the crock pot with some taco chips for dinner.  And then had them again for breakfast the next morning.  Due to said eating, we only ended up with 6 - 2 cup bags to freeze for later.  But had we not, we would have had 8 bags of beans to freeze.  Not bad, considering the dried beans cost less than $3 for the 2 lb. bag.  Adding the veggies to the beans makes for great flavor, but if you're trying to really be budget conscious, you could do them plain with just oil and salt.  You could also do just onions or garlic, which both tend to be very inexpensive veggies to buy and add great flavor all on their own.

Monday, March 3, 2014

The Rowselettes' Nursery

Yay!  It is finally done!  Well, except for spray painting our $20 used changing table black.  Unfortunately the weather has not been cooperating for that.  C'est La Vie.  But everything else is ready for the Rowselettes to arrive. :) 


We opted for mini cribs, as there was no way we could have fit two normal sized cribs (They are huge these days!) in this room.  My husbands parents were kind enough to purchase them for us, which was a huge help budget wise.  Two of everything can get expensive!  Since we decided to not paint the nursery, we relied on colorful accents to liven it up.  I found this great orange, chevron rug at Rosenberry RoomsThe art above the cribs I made using this tutorial.  


The ClosetMaid Cube Organizer is one I've had for years and spray painted black to match the cribs.  The print above it, Rocket Boy by jrod, is one my husband acquired a number of years ago from a local artist.  I love it for our little boys' room, so we finally got it properly framed.  The Winnie The Pooh lamp was made for us by a family friend, and it comes apart so they can use the stuffed bear and read the book.  The foxes were hand knitted for us by my talented sister in-law, Amy from Amy's Nutritarian Kitchen.  


 The little black table is from IKEA and the lamp was a hand me down that I spray painted to make it more my style.  The rocking chair is the one my mom had when my brother and I were little.  Can't wait to rock my own babies in it. :)


Our crib bedding is from Carousel Designs.  They are the only place I was able to find that had mini crib bedding.  Luckily they had a great selection and even a design your own bedding option.  And all of their products are made right here in the U.S.A.
I do have a couple more projects planned for the nursery, but all in all, it is complete as it is now.  However, when I get around to those projects, I'll be sure to post about them so you can see the updates.

Friday, February 28, 2014

Super Easy Cream of Potato Soup

Lately I've been trying to cook things that are heavy on left overs, since I'm hitting that lovely 3rd trimester energy let down.  Most of the time I just don't feel like cooking because carting two babies around wears me out.  So I've been focusing on things that are easy to freeze and use later.  This way, I'll hopefully have a fairly good stockpile for when the Rowselettes get here, and I'm a walking zombie. ;)

Cream of Potato Soup
  • 1 Tbsp. olive oil
  • 1 large onion, chopped
  • 3 stalks of celery, chopped
  • 3 carrots, chopped
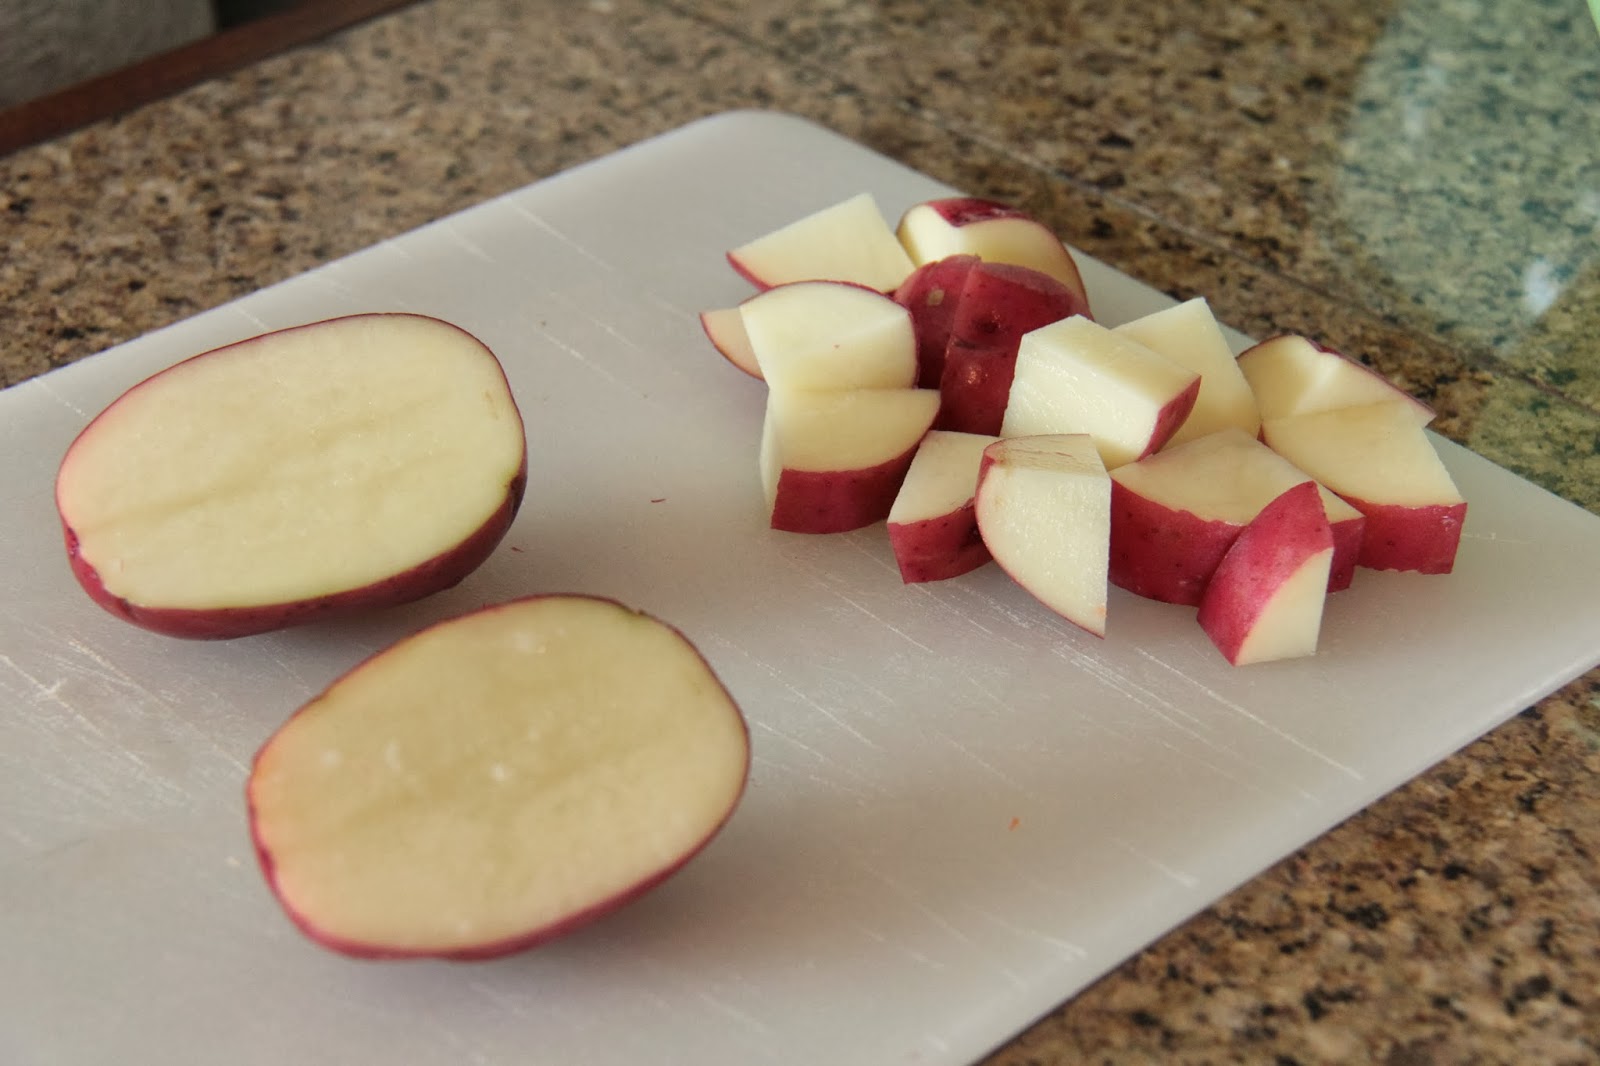
  • 12 red potatoes, cut into 1/2 in. pieces
  • 8 c. H2O
  • 2 c. milk
  • Salt & Pepper
  1.  Heat 1 Tbsp. olive oil in a large pot or dutch oven over medium heat.
  2. Saute onion, celery, and carrots for ~5 min. while you prep potatoes.
  3. Add a dash of salt and pepper to the veggies and stir to combine.
  4. Place potatoes in the pot and add water.  Turn heat to high and bring to a boil.
  5. Once boil is achieved, turn down, and simmer with lid on for 20 min.
  6. Check potatoes to make sure they are soft.  Turn heat to low.
  7. Puree soup using an immersion blender or food processor. (If using a food processor, turn heat off and allow soup to cool for about 10 minutes.  Process in batches.)
  8. Stir in milk and salt and pepper to taste.


This soup is so yummy!  And simple and super budget friendly.  It's really excellent with some shredded sharp cheddar, chives, and bacon on top and paired with some delicious crusty bread.


Note: Shown in the amazing Ripple!  The world's only detachable bowl and plate.  This great Kickstarter project was created by some very good friends of mine.  I hope you'll take the time to check out their site. :)

Thursday, February 27, 2014

Easy Wall Art

 A quick and easy way to liven up your walls is to add colorful art.  I don't know about you, but I don't have the budget room to spend a ton of money on art for our walls.  This is a fun way to add some "art" to your walls without spending a fortune.  And bonus, you can switch it out whenever the mood or season strikes you with hardly any cost at all.

What you need:
  • Scrapbook paper
  • Cutting apparatus
  • Frames
  • Tape

You simply cut your paper to fit in your frame, tape it to the matte, put it back together and voila!


Fun, colorful wall art to liven up any room in your house. :)

You could really use any kind of frame for this type of project.  I found these at Michaels for $9.99 each, but got them on a buy one get one free sale.  You can also use any fun, colorful type of media to put in your frame.  I used scrapbook paper, but wrapping paper, fabric, or wall paper would also work just as well.  

Wednesday, February 26, 2014

Rice Dish

This great recipe is one my hubby came up with a number of years ago.  It is delicious, healthy, and very budget friendly.  It has become a staple meal in our household since it is easy to make, uses ingredients I always have on hand, and makes lots of left overs.

Rice Dish
  • 1 large onion, chopped
  • 1 orange bell pepper, chopped
  • 1 can corn, drained
  • 1 can diced tomatoes with green chiles (I used a can of diced tomatoes with the addition of a can of green chiles, since that is what I had on hand.)
  • 1/2 Polska kielbasa sausage, sliced and quartered
  • 3 Tbsp. Cajun seasoning (Use more or less to your preferred taste.)
  • 3-5 cups cooked rice
  1. Spray a pan with olive oil and set over medium heat.
  2. Saute peppers and onions until slightly soft.  Push to one side of pan.
  3. Add sausage to other half of pan and cook until starting to brown.
  4. Mix peppers, onion, and sausage together in pan and add corn, tomatoes, and 1 Tbsp. Cajun seasoning.  Mix well and let cook for about 3 min.
  5. Add rice, half can of water, and remaining Cajun seasoning and mix well.
  6. Allow this to simmer until almost all of the water is gone.


Notes:  Rice Dish is great alone, with shredded cheese on top, or in a tortilla.  It also makes a great grilled burrito with a little sour cream on top.  This recipe could also be made using a turkey kielbasa for a lower fat version or beans instead of kielbasa for a vegetarian version.